Introduction
Painting is often the most visible part of a house renovation, but the success of painting depends on what happens before the first brush touches the wall. Many homeowners rush into painting without proper preparation and later face peeling paint, uneven finishes, or hidden damage. A clear renovation checklist helps avoid these problems and ensures long-lasting results.
This guide explains what to do before you start painting your house. It focuses on practical steps that protect your investment and improve final quality. When preparation is done right, painting becomes smoother, cleaner, and more effective.
Assessing Your Home’s Current Condition
Every successful painting project begins with a full assessment of the home’s condition. This step helps identify existing problems that could affect paint durability and appearance. Walls, ceilings, and exterior surfaces must be inspected carefully before any work begins.
Cracks, damp patches, and peeling paint signal deeper issues that need repair. Ignoring these problems leads to poor paint adhesion and early failure. Moisture damage is especially important to address because paint cannot bond properly to wet or weakened surfaces. Proper assessment protects the final finish from damage.
Surface condition also affects how paint looks. Uneven walls create shadows and visible flaws after painting. Identifying rough areas allows for sanding, filling, and smoothing before paint application. This step ensures a clean and professional finish.
Assessment should also include exterior walls. Sun exposure, rain, and dust cause fading and surface breakdown over time. Exterior inspection helps determine whether repairs or special protective coatings are needed. This improves durability and reduces maintenance.
Evaluating the home’s condition also helps with cost planning. Knowing what repairs are required prevents unexpected expenses later. A detailed assessment allows homeowners to make informed decisions and prioritize essential work.
Identifying Wall Damage and Surface Issues
Wall damage appears in many forms, including hairline cracks, holes, stains, and flaking paint. Each issue requires a specific repair method. Filling compounds fix small cracks, while deeper damage may need structural repair.
Surface stains often indicate moisture or chemical residue. These must be sealed properly before painting. Treating surface issues early ensures paint coverage stays even and long-lasting.
Planning the Painting Scope and Design
Once the home’s condition is clear, planning the painting scope becomes easier. This step defines which areas will be painted and how the final result should look. Clear planning prevents rushed decisions and design mistakes.
Planning includes deciding between full-house painting or specific room upgrades. Some homes need complete repainting, while others benefit from targeted improvements. Understanding scope helps control cost and timeline.
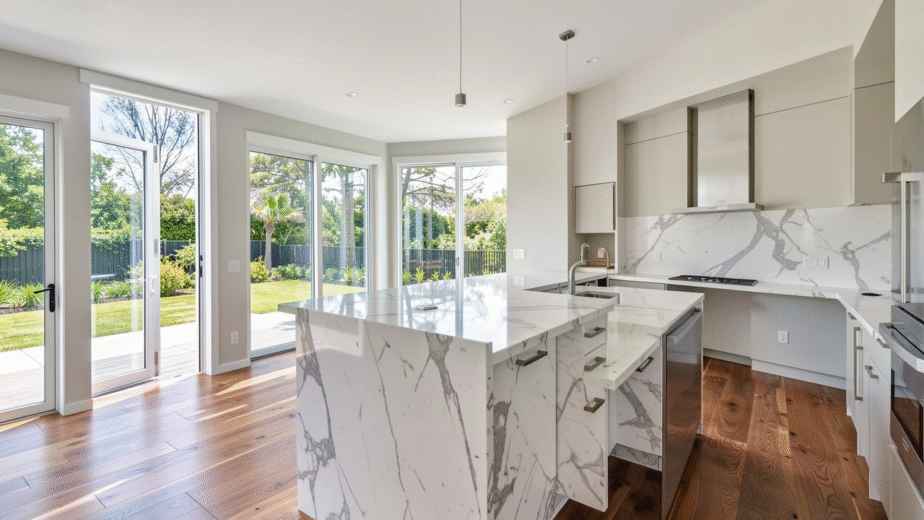
Color planning plays a major role in painting success. Light colors create open spaces, while darker shades add depth. Choosing consistent tones improves visual flow throughout the house. Paint finishes also matter, as matte, satin, and gloss options perform differently in various spaces.
Paint type selection affects durability and maintenance. Washable paints suit high-use areas, while moisture-resistant options work best in kitchens and bathrooms. Choosing the right products ensures long-term performance.
Design planning also considers furniture, lighting, and flooring. Paint colors should complement existing elements rather than clash with them. This approach creates a balanced and polished look.
Choosing Colors, Finishes, and Paint Types
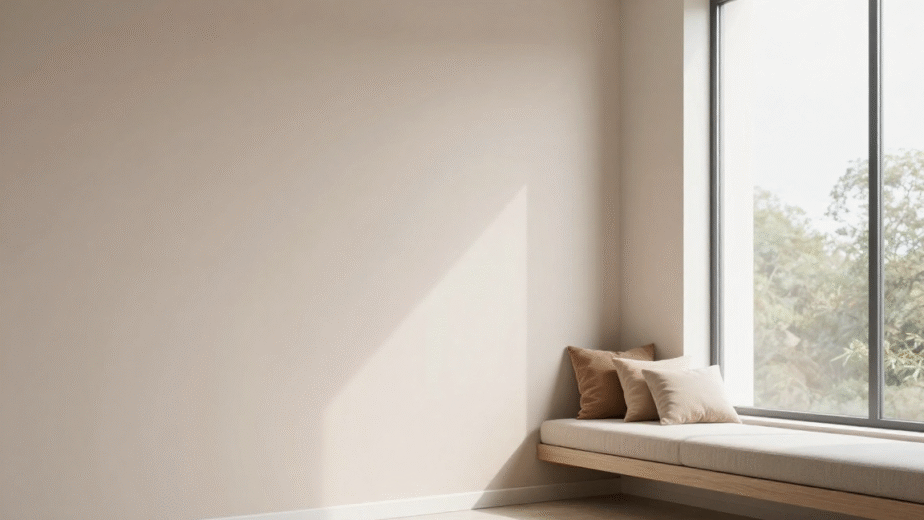
Colors influence mood and comfort. Warm shades create inviting spaces, while cool tones promote calm. Finish choice affects both appearance and practicality. Glossy finishes reflect light and clean easily, while matte finishes hide surface flaws.
Selecting proper paint types ensures walls stay protected and attractive. Professional advice helps match paint solutions to each room’s needs.
Preparing Walls and Surrounding Areas
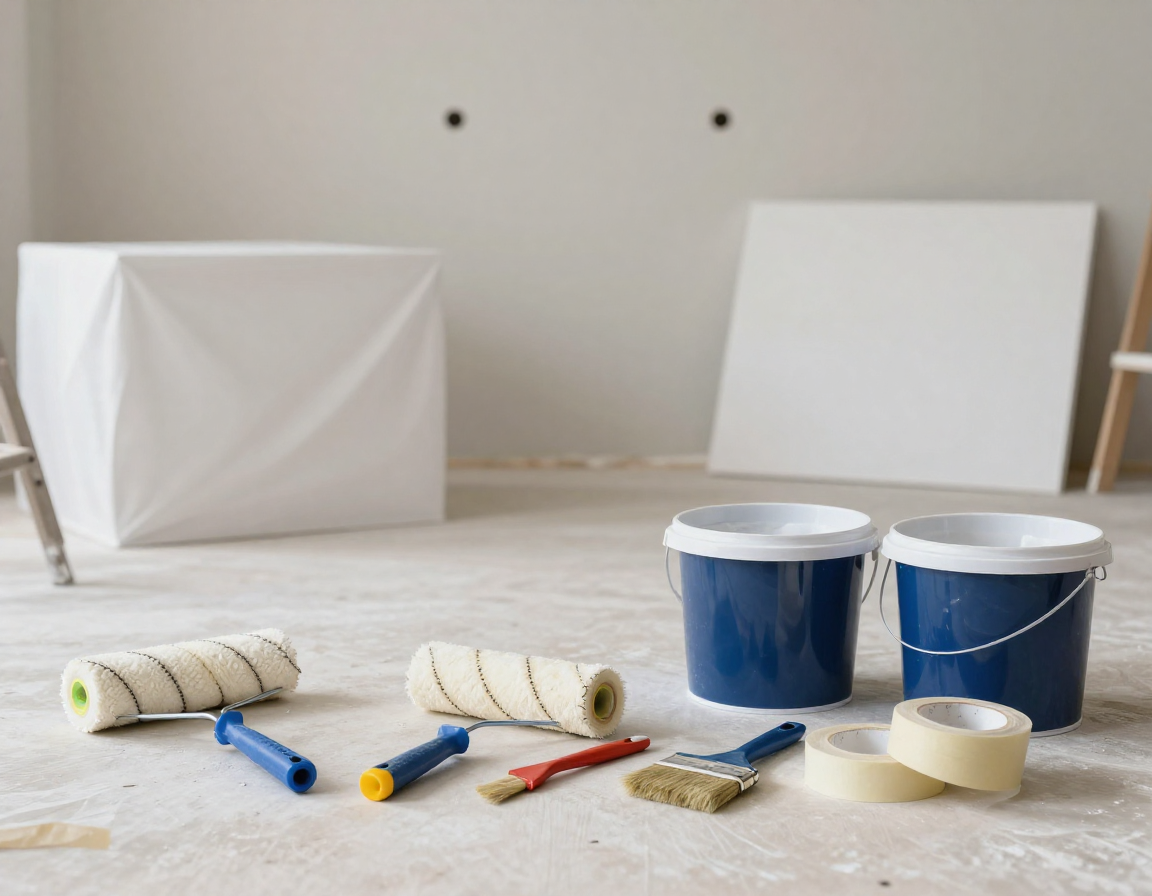
Proper preparation of walls and surrounding areas is the most important step before painting. Even the best paint will fail if surfaces are dirty or damaged. Preparation creates a clean base that allows paint to bond evenly and last longer. This step directly affects the final appearance and durability of the paintwork.
Walls must be cleaned to remove dust, grease, and residue. These contaminants prevent paint from sticking properly. Cleaning also reveals hidden cracks and imperfections that need repair. Skipping this step often leads to peeling and uneven finishes.
Surface repairs should follow cleaning. Small holes and cracks need filling and smoothing. Sanding creates an even texture and removes loose paint. These actions ensure the wall feels smooth and looks professional after painting.
Surrounding areas also need protection. Floors, furniture, and fixtures should be covered to prevent paint splashes. Masking edges creates clean lines and protects switches, sockets, and trims. Proper protection saves time and avoids costly cleanup.
Cleaning, Repairing, and Protecting Surfaces
Cleaning involves using suitable solutions to remove dirt without damaging walls. Repairs restore strength and smoothness to surfaces. Protection keeps the renovation controlled and organized. When these steps work together, painting becomes faster and more accurate.
Preparation reduces waste and rework. It allows painters to focus on quality application instead of fixing preventable issues. This step forms the foundation of a successful painting project.
Checking Electrical, Plumbing, and Fixtures
Before painting begins, all electrical and plumbing work should be complete. Painting over unfinished installations leads to damage and rework. This step ensures walls remain untouched after the final coat is applied.
Electrical checks include switches, sockets, and wiring points. Any changes or repairs must be finished before painting. This prevents cutting or drilling into freshly painted walls later. Proper coordination saves time and protects the final finish.
Plumbing inspections focus on leaks, moisture, and pipe placement. Water damage quickly ruins paint and causes stains. Fixing plumbing issues before painting prevents future repairs and maintains paint quality.
Fixtures such as lights, shelves, and fittings should also be addressed. Installing or removing fixtures after painting risks scratches and marks. Completing this work first keeps surfaces clean and intact.
Fixing Hidden Issues Before Painting
Hidden issues often appear during renovation. Loose wiring or minor leaks can cause major damage if ignored. Addressing these problems early protects both structure and paintwork.
Completing electrical and plumbing checks ensures the home is fully prepared. This step supports a smooth painting process and long-lasting results.
Budgeting and Scheduling the Painting Work
Budgeting and scheduling bring structure to the painting phase of a house renovation. Without clear cost planning and timelines, painting projects often face delays and unexpected expenses. Proper planning keeps the work efficient and stress-free.
Budgeting starts with understanding material and labor costs. Paint quality, surface preparation, and room size all affect pricing. Higher-quality paints last longer and reduce future repainting needs. Planning budget carefully helps balance cost with durability.
Scheduling defines when painting will start and finish. Painting should come after all repairs and installations are complete. Clear timelines help avoid overlap with other renovation tasks and reduce disruption to daily life.
Weather conditions also affect scheduling, especially for exterior painting. Proper timing ensures paint dries evenly and bonds correctly. Planning around climate conditions protects the final finish.
Estimating Costs and Setting Timelines
Cost estimation includes paint quantity, preparation work, and labor. Timelines should allow drying time between coats. Accurate scheduling prevents rushed work and quality issues.
Well-planned budgeting and scheduling keep the renovation organized. They allow homeowners to monitor progress and maintain quality standards throughout the project.
Hiring Professional Painters or Deciding DIY
Choosing between professional painters and do-it-yourself painting affects quality, time, and overall cost. Each option has benefits, but the decision should match project complexity and personal skill level.
Professional painters bring experience, tools, and technical knowledge. They handle preparation, application, and cleanup efficiently. Their work often results in smoother finishes and longer-lasting results. Professionals also reduce the risk of mistakes that increase costs.
DIY painting suits small projects or simple refresh work. It allows cost savings but requires time, effort, and attention to detail. Lack of experience can lead to uneven coverage or surface damage.
Evaluating project size and expectations helps make the right choice. Complex renovations usually benefit from professional expertise. Simple tasks may be suitable for DIY with proper preparation.
Conclusion
A successful painting project begins long before the first coat is applied. Following a clear renovation checklist ensures walls are prepared, systems are secure, and plans are in place. These steps protect paint quality and prevent future problems.
Preparation, planning, and professional support turn painting into a lasting upgrade rather than a temporary fix. When done correctly, painting enhances beauty, comfort, and value.